Introduction to camera scanning
Whether you're looking to digitize your old family negatives or love the tactile experience of shooting film but want to share your work online, camera scanning is the perfect way to bridge the gap between analogue and digital. Read our introduction to discover the modern way to scan film.
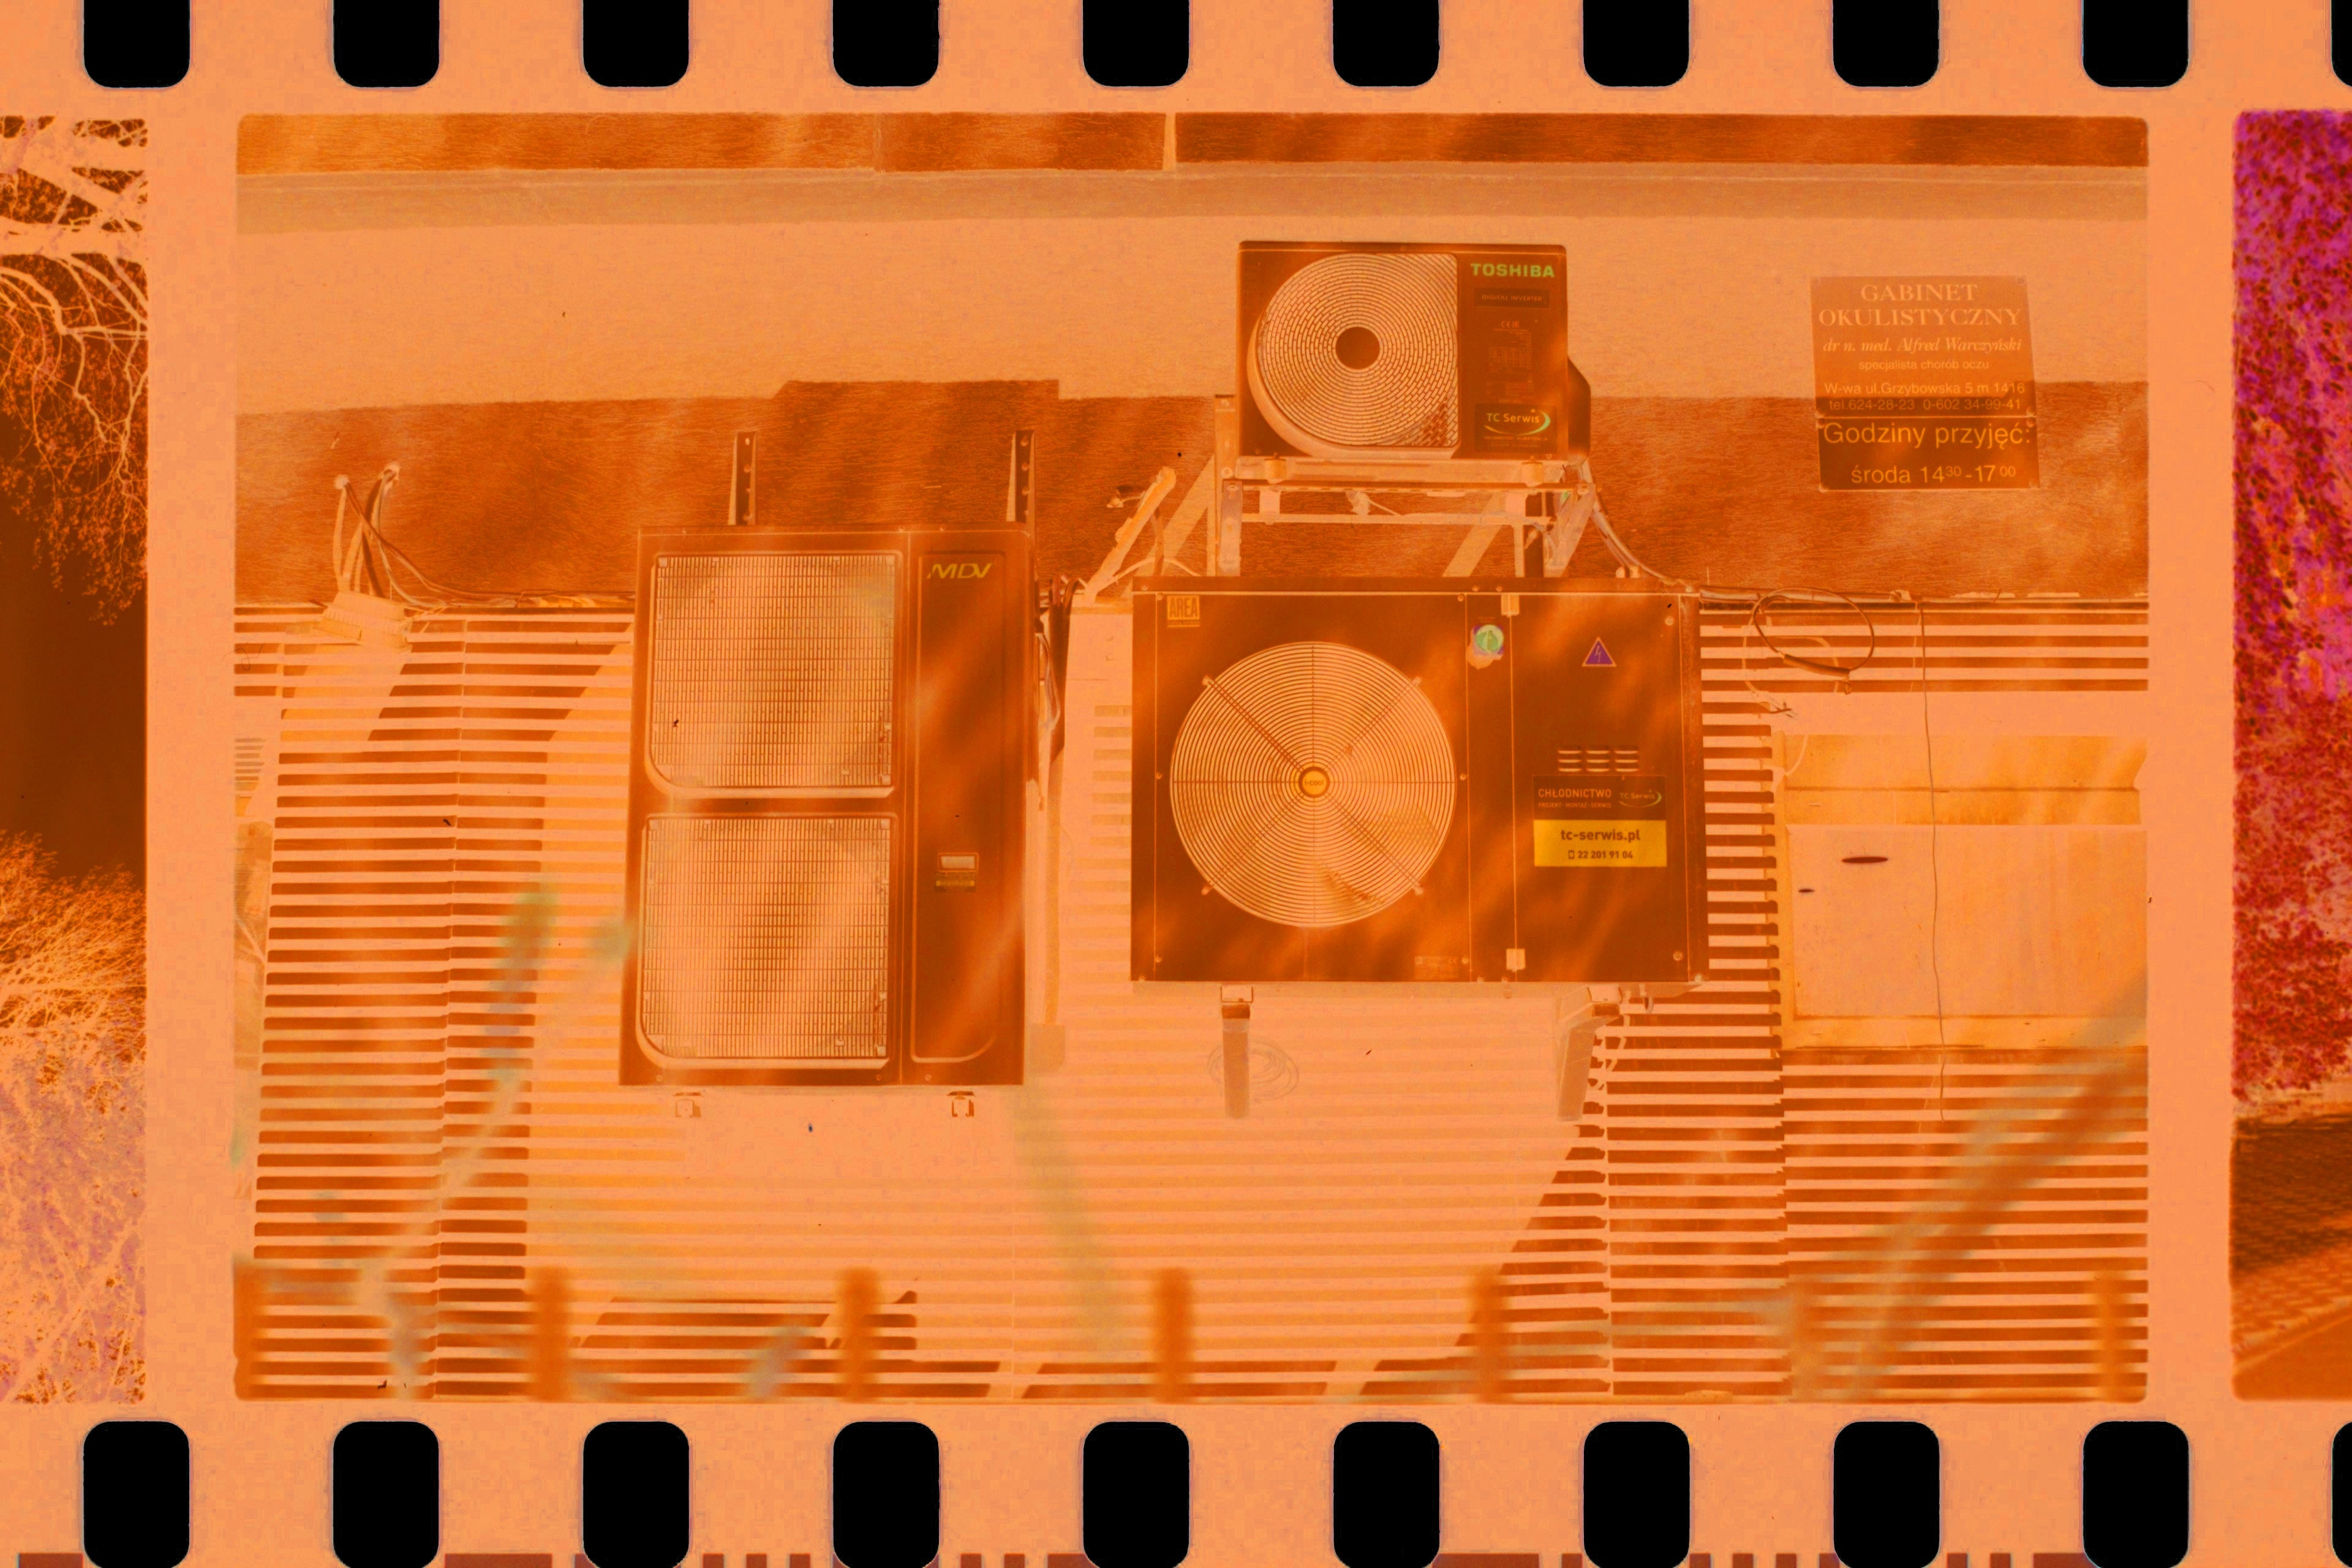
Camera scanning is the process of digitizing your film photos—whether negatives or slides—by taking a photographing them up-close using a digital camera equipped with a macro lens. This method harnesses the advances in digital camera sensor technology to deliver sharp, detailed digital reproductions of your analog images.
You don’t need the latest and most expensive gear to get started. Many photographers achieve outstanding results using DSLR or mirrorless cameras released in the last decade, paired with affordable vintage macro lenses known for their excellent optics. In fact, we’ve curated a list of recommended lenses that are proven within the scanning community—check it out here!
Parts of a DSLR scanning setup
A camera scanning setup includes several key components. To get started you’ll need the following:
- A film carrier to keep the negative flat and secure
- A light source for even backlighting
- A mounting solution to ensure your camera stays parallel to the film
- Software to convert negative images to positives (not required for slides)
- A digital camera with a macro lens (naturally!)
At Tone Photographic, we’ve focused on solving the most crucial challenge in this setup: keeping film flat, straight and constrained during scanning. The toneCarrier system was designed to address this, ensuring that even curled negatives remain flat for consistent, high-quality scans.
We're also developing a complete film scanning solution, including a dedicated light source and copy stand. Keep an eye on our website for updates on these exciting new products. In the meantime, you can explore our curated recommendations for light sources and camera mounts.
What makes a good DSLR scanning film carrier?

The primary function of any film carrier is to keep your film flat, but a good solution goes far beyond that. In developing the toneCarrier, we not only focused on flatness but also considered the entire scanning workflow to make the process as seamless as possible. Here are the key features that set a high-quality film carrier apart:
- Flatness: Ensures film remains perfectly flat and straight.
- Minimal Contact: Reduces the risk of film damage by minimising direct contact.
- Ease of Use: Allows for quick and easy film loading.
- Dust Protection: Elevates the film to keep it free from dust and scratches.
- Anti-Reflective Design: Prevents light reflections that cause artifacts or colour casts.
- Convenience: Enables smooth film advancement without needing to handle the film directly.
With the toneCarrier, we’ve ensured it ticks all of these boxes—and more. For example, you can extend its capabilities with accessories like:
- A motorised drive for automatic scanning
- An anti-static brush to remove loose dust particles
- Adapters to integrate with other popular light sources
With the setup complete, it's time to start scanning.
Set up your scanning camera
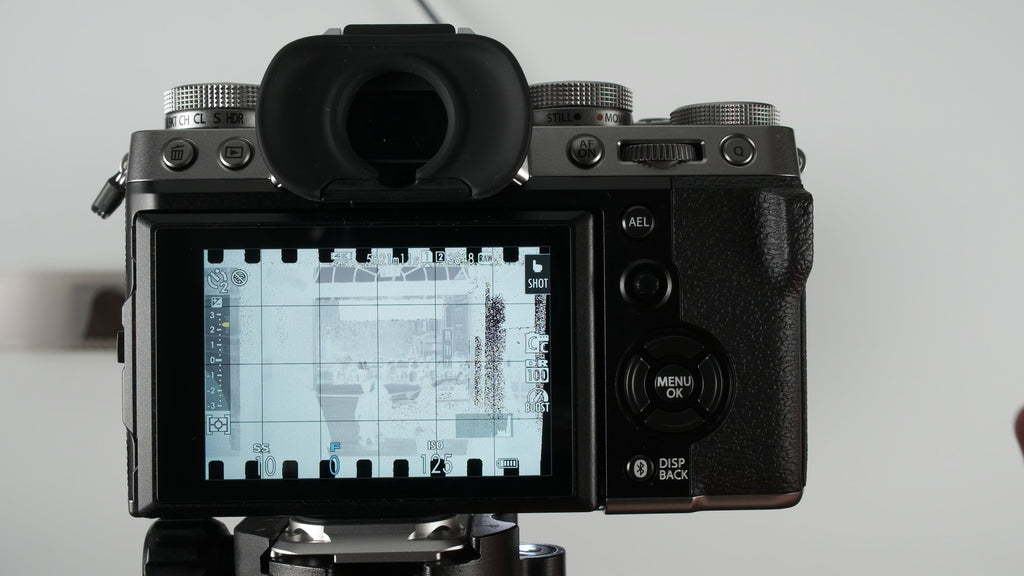
Mount your camera on a tripod or copy stand, and ensure it's level with the film holder. A quick trick is to use a small mirror placed below the lens. When you look at the live preview, adjust the camera so the centre of the lens reflection is in the middle of the frame. Using a grid overlay on your camera’s display can further assist with perfect alignment.

When the camera is not parallel to the film plane, the center of the lens will not coincide with the center of the grid.

When correctly aligned, the reflection of the lens will be perfectly centered.
Initial exposure settings

Set the mode to aperture priority and set your lens to its wide open aperture. Set the ISO on your camera to the native / base iso (125 in the Fujifilm's case).
Make sure that your camera is set to RAW mode, as JPG files are not suitable for quality scans - you will need all the detail and tonal information you can get from the sensor!
Finally, enable a 2-second self timer, or use a remote shutter release (cable or app) to eliminate camera shake. Motion blur and DSLR scanning don't really mix!
Load the film carrier

Place your film into the toneCarrier, feeding the film until the first frame is in position. Keep the camera in semi-automatic aperture priority mode for now. Also, enable a 2-second self-timer or use a remote trigger to avoid camera shake.
Pro Tip: Load the film with the emulsion side up. Not only does this flatten the film by bending against its natural curl, but also makes focusing easier by placing the grain directly in front of the lens.
Focus on the Film Grain

Zoom in using your camera's live preview to focus on the grain, keeping your lens aperture wide open. Once you find the sharpest point, stop down to around f/8 for optimal depth of field, ensuring you capture every detail with precision.
Set your exposure
For getting the most information out of the negative, we will use the “Exposing to the Right" (or ETTR) technique. While still in aperture priority mode, enable highlight clipping preview if available.

Adjust the exposure compensation until the brightest part of the film mask begins to clip and blink. At this point, dial the exposure compensation back by 1/3 - 2/3 stops. Take note of the indicated shutter speed. If you are scanning without a frame mask, the only part of the image that is clipped should be the sprocket holes. If a frame mask is inserted, then you should have no clipped pixels anywhere in the frame.

Switch to manual mode and set shutter speed to the value obtained in the previous step. This value can stay fixed for an entire roll, but may need to be adjusted between rolls. During scanning keep an eye for highlight clipping alerts and adjust exposure accordingly to always be just a hair away from clipping the brightest part of the film mask.

Scan the full roll

Advance the film and capture each frame. With your exposure and focus already set, this part will be quick and efficient—your entire roll will be digitised in mere minutes.
Periodically re-check your focus and exposure settings to ensure they are still correct.
Import into conversion software

With all scans taken, we can move onto the computer to begin converting the raw images. In this tutorial we will use Negative Lab Pro, which is a paid Adobe Lightroom plugin. You can follow the excellent instructions on the developer's website to get the most of your raw scans.
